| imagenet.py | ||
| Project_ASL.ipynb | ||
| README.md | ||
Sign-Language-Translator-using-Jetson-Nano
This is my project developed during my Deep Learning in Intelligent Video Analytics and Computer Vision Workshop in IIUM.
This project is about translating Sign Language Alphabet using Jetson Nano and focuses on the Image Classification where every hand posture will be classified to its letter class.
The methodology of this project are:
- Collecting Datasets.
- Training using Resnet18.
- Converting the .pth file into .onnx file.
- Run it on camera.
! Important ! Make sure you have install Python and PyTorch on your Device or Environment.
Lets Start!
Step 1: Training on PC
- Clone this repository.
git clone https://github.com/Khairulamireen/Sign-Language-Translator-using-Jetson-Nano.git
- The training required Jupyter Notebook and datasets. I have provided the dataset**. After the training complete, there will be a .pth.tar file saved on your PC. This file is required to be sent to the Jetson Nano.
If you want to skip this part, I have provided my trained file in this repository**.
Step 2: Run on Jetson Nano
- First of all, you need to git clone this repository. In your Terminal,
git clone https://github.com/dusty-nv/jetson-inference.git
This is the github repositary created by Dusty Franklin, NVIDIA jetson developer.
-
Then, a folder name 'jetson-inference' will be created. In the folder, go to ./python/examples.
-
Copy the 'imagenet.py' file.
-
Go back to initial folder path, and go to ./python/training/classification and paste the file here.
-
Go to /jetson-inference/python/training/classification/models , create a folder. (You can named it anything. For me, I go with 'project')
-
Go to /jetson-inference/python/training/classification/data , create a folder. (You can named it anything. For me, I go with 'project')
-
For converting .pth.tar file into .onnx file, you have to place your .pth.tar file (Refer Step 1) into /jetson-inference/python/training/classification/models/project . Then, in Terminal, on the path /jetson-inference/python/training/classification , type:
/python onnx_export.py --model-dir=models/project
This will create the .onnx file located in the models/project folder. The .onnx file is also provided**.
** You can download the provided files using this link:
https://drive.google.com/drive/folders/1nGKNiPjYcUkzx8v5Iukm_VZEnF9jr1a_?usp=sharing
For Jetson Nano, you have can download the provided .onnx file and Asl.txt file:
- Copy the provided .onnx file into /jetson-inference/python/training/classification/models/project
- Copy the Asl.txt file into /jetson-inference/python/training/classification/data/project
Step 3: Testing on Jetson Nano
Lastly, to test the project. In Terminal, on path /jetson-inference/python/training/classification , type:
python imagenet.py --model=models/project/resnet18.onnx --input_blob=input_0 --output_blob=output_0 --labels=data/project/asl.txt /dev/video0
Make sure you know your device file name in order to open your camera using Jetson Nano. In my case is 'video0'.
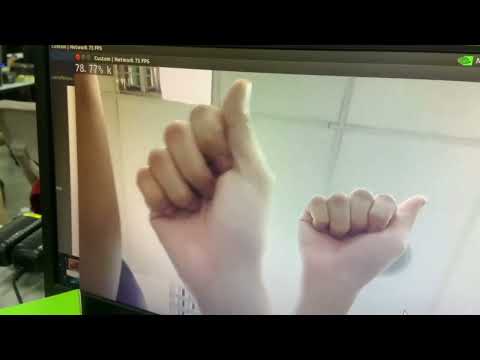
Done! Camera window will pop-out and you can try using alphabet sign language on the camera. The translation will be on the upper left of the window. Have Fun!
This is my tutorial video for this project